

Managing Email conversations in Enchant
Enchant sends and receive messages through channels. We have an email channel turns email conversations to tickets in your Enchant inbox.
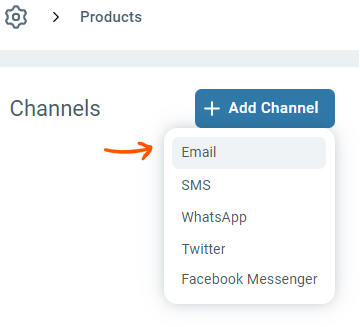
Email channels work by setting up auto forwarding from your email provider to a forwarding address provided by the email channel in Enchant. To create a new email channel, click on Add a Channel button on the top right and select Email from the list.
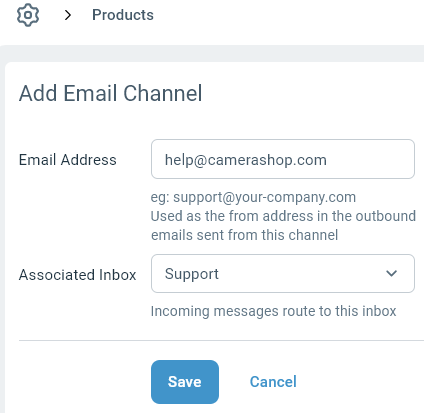
Enter the email address that you want to be sending as and the choose the inbox where the new incoming messages will route to. Click Save to create your new email channel.
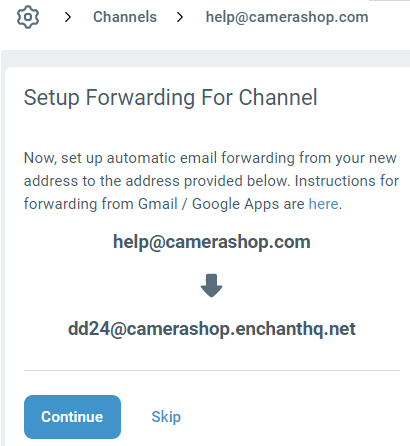
Once an email channel is created, a forwarding address will be generated for this channel. Next step is to set up auto forwarding from your email provider to this forwarding address.
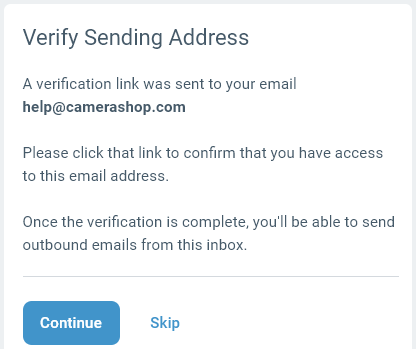
Last step is to verify your email account by clicking a link sent to your email. This is needed to ensure you have the access to the email address in order to send outbound emails from Enchant.
Now that initial set up is completed. You can receive and send emails via this channel.
Additionally, you can further modify the settings to include signatures or setup auto bcc etc. Read below to see what other options are available.
For an email channel, you can edit the following settings from the General tab:
Email Address
The emails address that your customers will see in the "From" field for all emails they receive from this inbox.
Associated Inbox
The inbox where this email channel sends new messages to.
User From Name
This controls what name your customers will see in the "From" field when a user sends an email from the system.
Placeholders that are available for the User From Name field:
{{user.first_name}}: First name of the user
{{user.last_name}}: Last name of the user
{{user.first_initial}}: First initial of the user
{{user.last_initial}}: Last initial of the user
In the default configuration, Enchant uses placeholders to insert the user's full name. If you prefer to only show your company name in the "From" field, you can update the value of this field to your company name.
System From Name
This controls what name your customers will see in the "From" field when an automated email (like an auto reply) is sent by the system.
Email Signature
The signatures are automatically injected at the bottom your message for all outbound email replies. Learn more on how to set up signatures here.

To edit how a channel sends and receives messages, click on the Sending / Receiving from the sidebar:
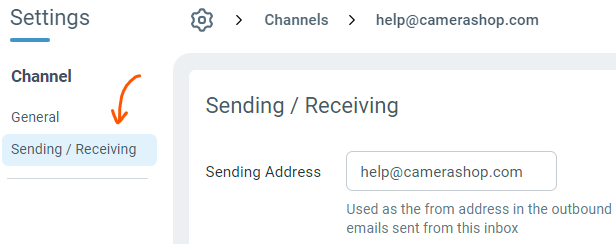
Enchant provides a forwarding address for each email address (eg: help@your-domain.com) that you manage using Enchant. To get your email into Enchant, you would setup your email address to automatically forward to the corresponding forwarding address.
If you have additional email addresses that get delivered to the same inbox, you should setup aliases for these in the Forwarding Addresses section of the Sending / Receiving tab of the email channel:

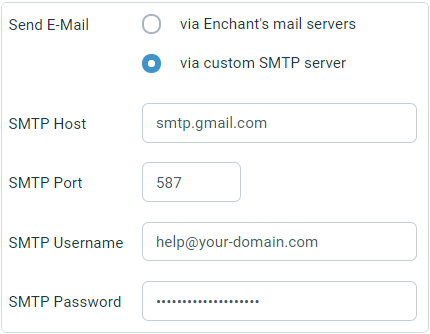
Enchant can either send email through it's own servers or through your SMTP servers. For further details on sending options read more here.
If sending through Enchant's email servers, we recommend adding an SPF record to your domain's DNS settings that says that we'll be sending email on your behalf. Specifically, add the following TXT record:
v=spf1 include:enchanthq.net ~all