

Creating a new ticket
You would create a ticket to send an outbound message, to make an outbound call via Enchant or to track notes about a call happening outside of Enchant.
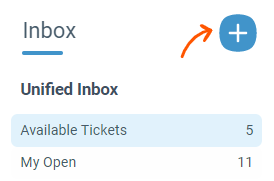
Click on the Add button on the top right corner of the sidebar from anywhere in the inbox to create a new ticket.
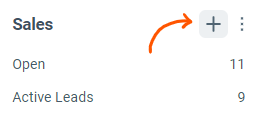
You can also click the plus button that appears on the right of the Inbox name in the folder sidebar. This will pre-select that inbox for your new ticket.
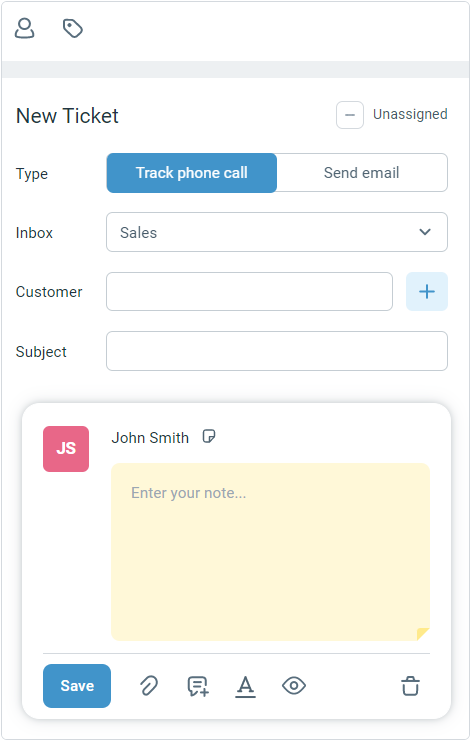
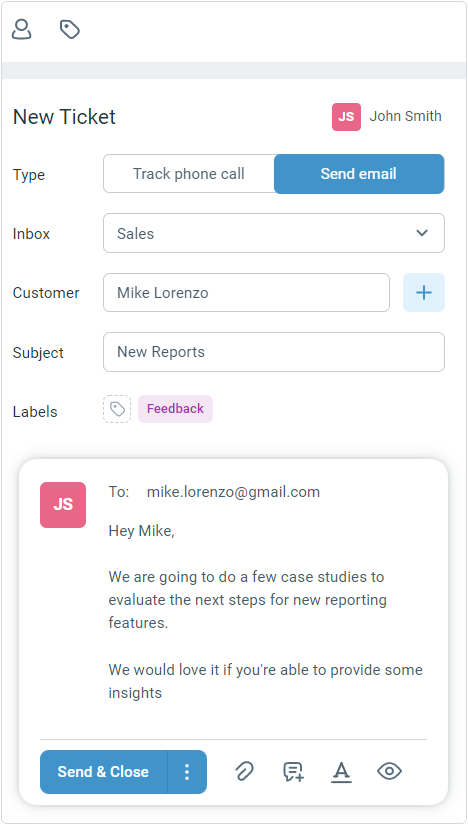
Once you're on the ticket creation page, you can select Type based on whether you're going to log a call or sending an email. The default for the Ticket Creation Type can be changed from the Account Settings.
In Phone Call mode, the new ticket will add a private note. No email will be sent out to the customer.
In Email mode, an outbound email will be sent to the customer just like if you were replying to a message on an existing ticket.
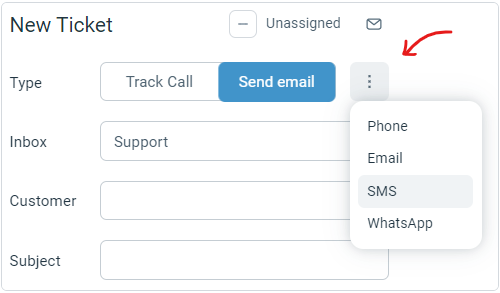
Send an outbound SMS: If you have an SMS channel under any of your inboxes, you will have the option to create an outbound SMS ticket using the More button to the right of the type switcher.
Sending an outbound WhatsApp Message: When you initiate a WhatsApp conversation, the message template must be pre-approved by WhatsApp for sending (read more about Business initiated conversations here). You can save these pre-approved messages in canned responses for easy access when creating WhatsApp tickets. Choose the WhatsApp type from the type switcher in order to do so.
In each mode, you have the all the message compose box actions such as ticket state options, canned responses and attachments available to speed you up.
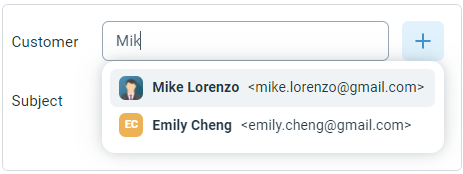
Once you have decided on a type and inbox. You can select a customer by typing a search in the customer field:
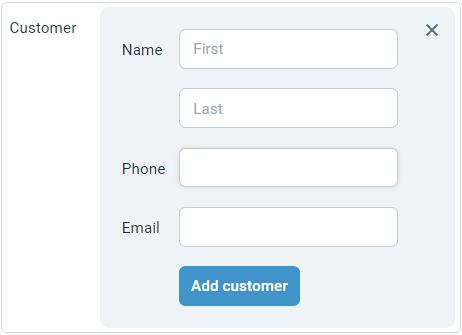
You can also create a new customer using the plus '+' button if this is the first time you're contacting them:

When you enter the new contact information in the form and click the Add Customer button, the newly created customer will be selected for the new ticket that you're creating.
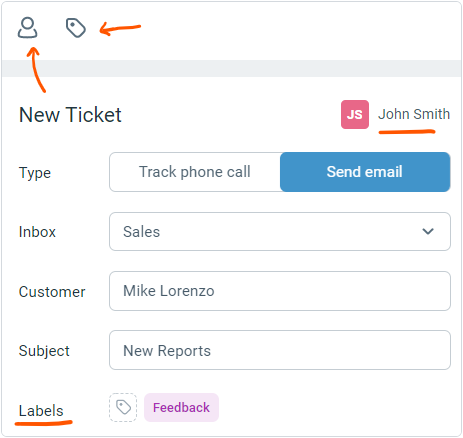
Once you have selected a customer, you can go on writing up your email or note. You can also enter the subject, add any labels or assign the ticket to another team member using the top action bar.
When you have finished writing and setting up the ticket attributes, click the Send/Save button at the bottom of the compose box to create the ticket.