Never repeat yourself with canned responses
Canned responses enable your team to use pre-written (template) responses for common questions. While replying, you can insert as many canned responses as you need.
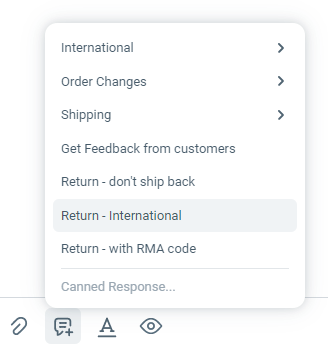
Access them through a popup menu:
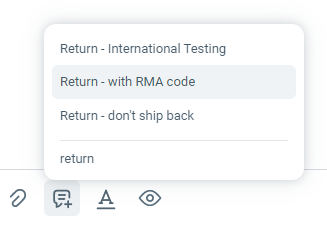
Or by searching:
You can add and update canned responses in the settings tab. Each inbox has it's own set of canned responses but they can be shared among inboxes if needed.
From the bottom left corner of the screen, click the cog icon on app navigation bar.

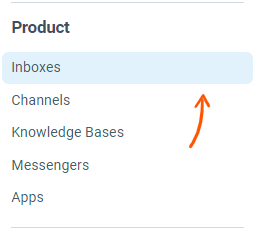
From the sidebar on the left, click on Inboxes option under the Product section:
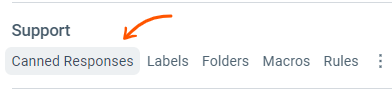
For a specific inbox, click Canned Responses
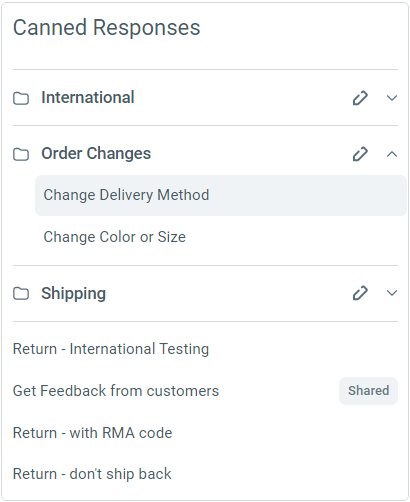
The canned responses page shows a list of folders (used to organize canned responses) followed by canned responses that are not inside any folders. Clicking on a folder name expands the folders in place to shows you the canned responses that are in that folder.
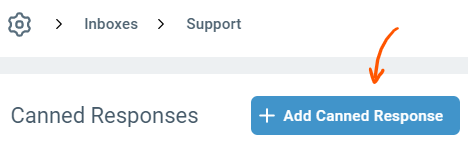
From the top right of the labels tab, click the Add Canned Response button
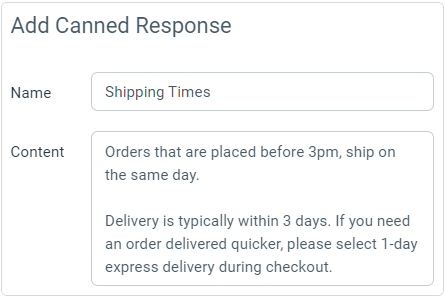
Here you give the canned response a name and add the contents of the response:
Canned response's content supports the following user placeholders:
{{user.name}}: The full name of the user writing the reply
{{user.first_name}}: The first name of the user writing the reply
{{user.last_name}}: The last name of the user writing the reply
and the following customer placeholders:
{{customer.first_name}}: The first name of the customer (from the left sidebar)
{{customer.last_name}}: The last name of the customer (from the left sidebar)
and the following ticket placeholders:
{{ticket.id}}: A unique identifier for the ticket, useful when creating links that integrate with external systems
{{ticket.number}}: The ticket number as seen within Enchant. Use this to provide a reference number to your customers
... and finally, comments:
{{# your comment goes here }}: Comments will be visible to your team when they insert the canned response, but won't be saved in the final message and won't be sent to the customer.
Organize your canned responses into folders by selecting a folder path from the folder dropdown. For example, in the screenshot below, the canned response is in the Local folder, which itself is a subfolder of the Shipments folder.
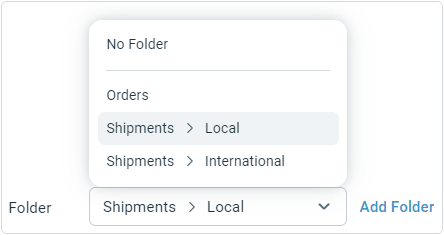
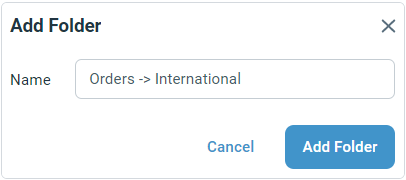
To create a new folder, click the Add Folder button the right of the dropdown. This opens up a folder popup where you can type in a new folder name.
Pro Tip: Add sub folders by typing -> between the folder names.
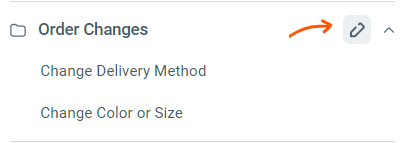
To rename an existing folder, you can click the Edit button on the folder name in the canned response listing page. It will take you to the folder editor where you can change the name.