Managing mailboxes, brands, or languages using inboxes
An Inbox represents a brand, a mailbox or a team of people. Each inbox has it's own configuration and team members.
You can add and update inboxes from the setting tab.
From the bottom left corner of the screen, click the cog icon on app navigation bar.

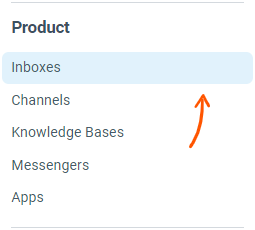
From the sidebar on the left, click on Inboxes option under the Product section:
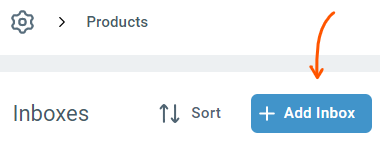
From the top right of the inboxes page, click the Add Inbox button.
From here, you can set inbox name and add users who should have access to it.
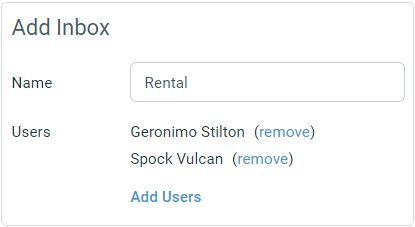
Once you click save, the system will guide you through the next step to setting up messaging channels for the inbox.
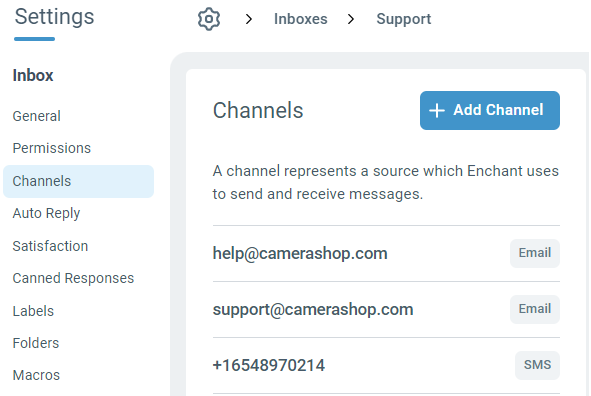
An inbox in Enchant receives and sends messages via its channels. An inbox can have 1 or more channels. You can also leave it as a channel-less inbox. Read more about our recommended set up for channels based on your use case.
Currently, the following channel types are supported:
Email - add & manage email channel
SMS - add & manage SMS channel
WhatsApp - add & manage WhatsApp channel
Facebook Messenger - add and manage Facebook Messenger channel
Twitter - add and manage Twitter channel
Depending on the channels you add, each channel will guide you through its own setup.
The list of channels belonging to an inbox are shown under the Channels section. To access channel settings, click on Channels from the sidebar and select a channel from the list on the right.
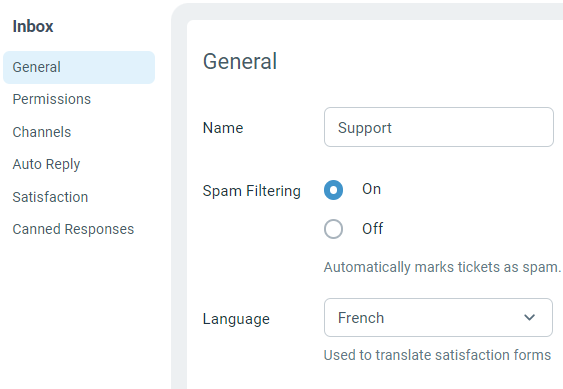
Inbox Name
This is the name of the inbox you will see through the user interface. For example in dropdowns, when creating a new ticket or moving a ticket to another inbox.
Spam Filtering
You can choose to turn on spam filtering for each inbox. Read this article to learn more about how this works.
Language
Each Inbox comes with a language that is used to translate all the customer visible interfaces such as satisfaction rating forms, messenger interface, and knowledge base website. We provide built-in support for 20 languages.
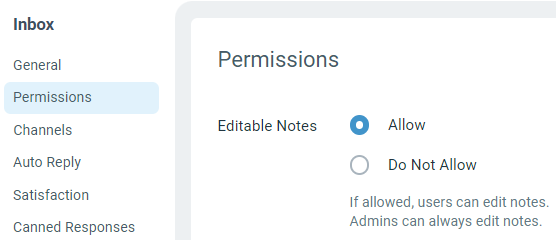
When editing an inbox, select Permissions on the sidebar.
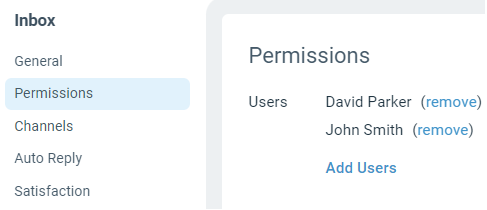
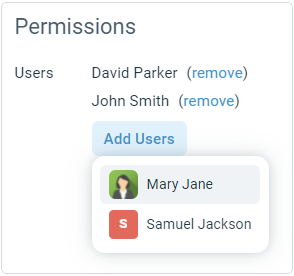
Then, click Add User in the Users section and select a user.
To remove a user, click the remove link beside the user's name.
From the same permissions page, you can also choose whether the non-admin users should be allowed to edit the private notes after saving them.
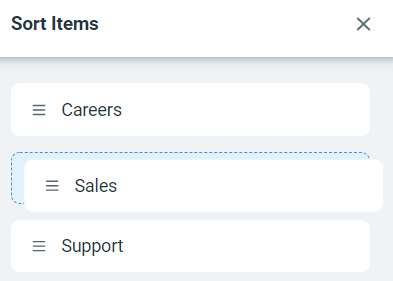
The inboxes appear in the same order for all the users that belong to them. You can change the order of the inboxes clicking on the Sort button.
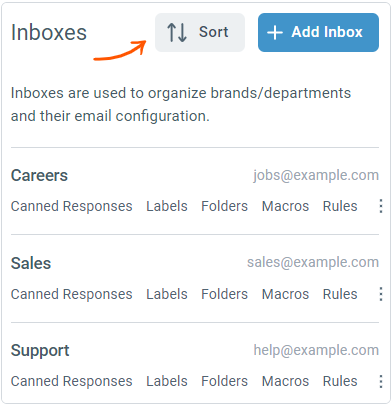
A sort popup is shown with the inboxes that can be re-ordered by simply dragging and dropping them.