

Managing messengers
The Enchant messenger is the ultimate customer support widget that brings live chat, knowledge base and a contact form into a single place for your customers.
Add and update messengers from the settings tab.
- 1
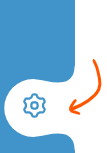
From the bottom left corner of the screen, click the cog icon on app navigation bar.
- 2
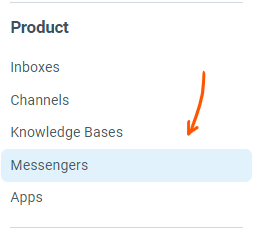
From the sidebar on the left, click on Messengers option under the Product section:
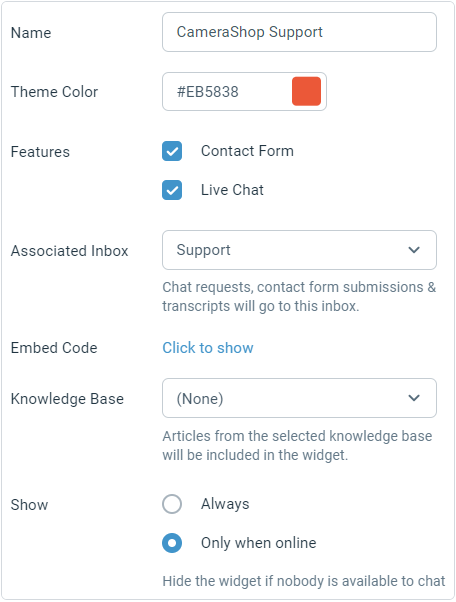
Name: The name of your messenger. This name is used internally in Enchant to refer to a messenger when connecting it with an Enchant knowledge base website.
Theme Color: The primary color of the links and navigation bars on the website.
Features: Disable live chat in this messenger to use the messenger just as a knowledge base and contact form.
Associated Inbox: Chat requests and chat transcripts will be routed to the selected inbox. The language of the messenger interface is also associated with the language of this inbox. Enchant provides built-in support for 20 languages.
Embed Code: Displays code to embed on to your website to show the widget.
Show: When to show the messenger widget.
Knowledge Base: Content from the selected knowledge base will be displayed in the messenger widget.
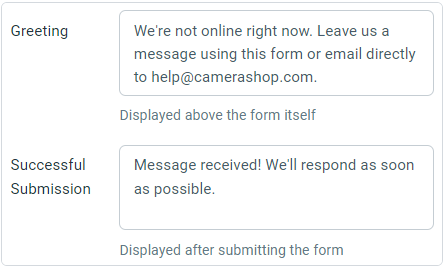
Greeting: Message that's displayed above the contact form.
Successful Submission: Message displayed after succesfull submission of the contact form.
Name Format: Controls how the user's name is displayed when chatting.
Greeting: Message that's displayed above the chat form.
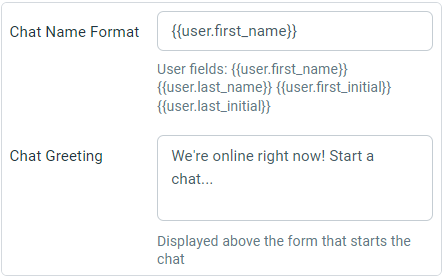
The following placeholders are available for name format:
{{user.first_name}}: The first name of the user chatting with the customer.
{{user.last_name}}: The last name of the user chatting with the customer.
{{user.first_initial}}: The first initial of the user chatting with the customer.
{{user.last_initial}}: The last initial of the user chatting with the customer.