

Improve productivity with macros
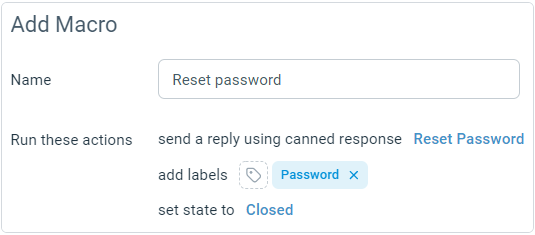
Macros can be used to perform multiple actions with a single click. For example, a password instructions macro can:
Send an email with password reset instructions
Add a Password label so the team can track how often they get such requests
Update the state of the ticket to Closed
Add and update macros from the settings tab.
From the bottom left corner of the screen, click the cog icon on app navigation bar.

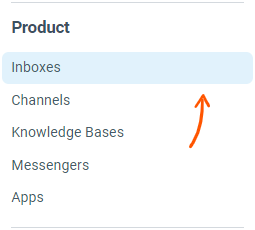
From the sidebar on the left, click on Inboxes option under the Product section:
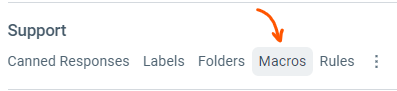
For a specific inbox, click on Macros
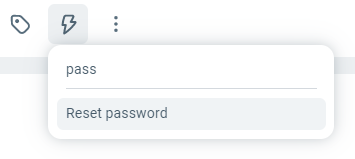
Macros can be run on a single ticket from the action bar or on multiple tickets from the action bar on the folders page. Learn more about using macros here.
Select from the list of macros. You can also start typing the name of the macro to narrow down the list and select from a list of matching options.
From the top right of the macros page, click the Add Macro button.
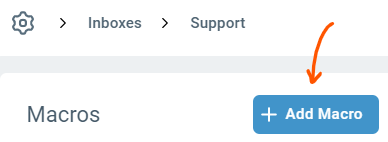
Here, you can name the macro and setup actions
Add actions by clicking Add a new action
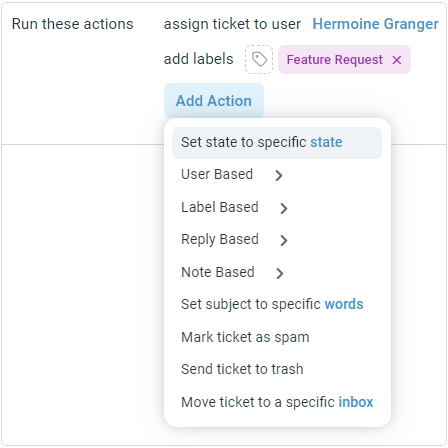
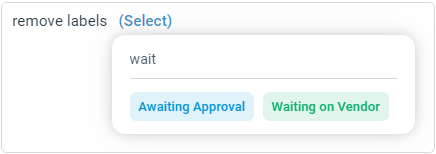
Each action allows you to select the values from the inbox it belongs to. For example if you choose action "remove labels", when you click the Select button, you'll see the same label selector from ticket interface with all the labels in the inbox.
Currently, macro actions can:
Set the state
Assign or un-assign the ticket
Update subject
Add a label
Remove a label
Clear all labels
Add a user to followers
Remove a user from followers
Remove all followers
Send a reply using a canned response
Add a note using a canned response
Start a draft reply using a canned response
Start a draft note using a canned response
Mark ticket as spam
Send ticket to trash
Move ticket to another inbox